Whimsical Watercolors I
Course Overview
In this beginner-friendly watercolor painting class, I’ll guide you through the fundamentals of watercolor painting in a smooth and stress-free learning experience. Whether you're an absolute beginner or have some prior experience, this class is designed to help you build a strong foundation in watercolor techniques while fostering your artistic expression.
What You’ll Learn
In this course we’ll take a hands-on approach to learning by working on 9 different watercolor projects as we create together:
Materials and Setup: Introducing you to the essential tools and materials needed for watercolor painting.
Color Palette: Explaining the basics of color theory to color mixing, blending, and creating harmonious palettes to make your paintings truly stand out.
Brush Techniques: Practice various brush techniques to achieve different textures and effects in your watercolor artworks. From washes to detailing, you'll gain confidence in handling your brushes.
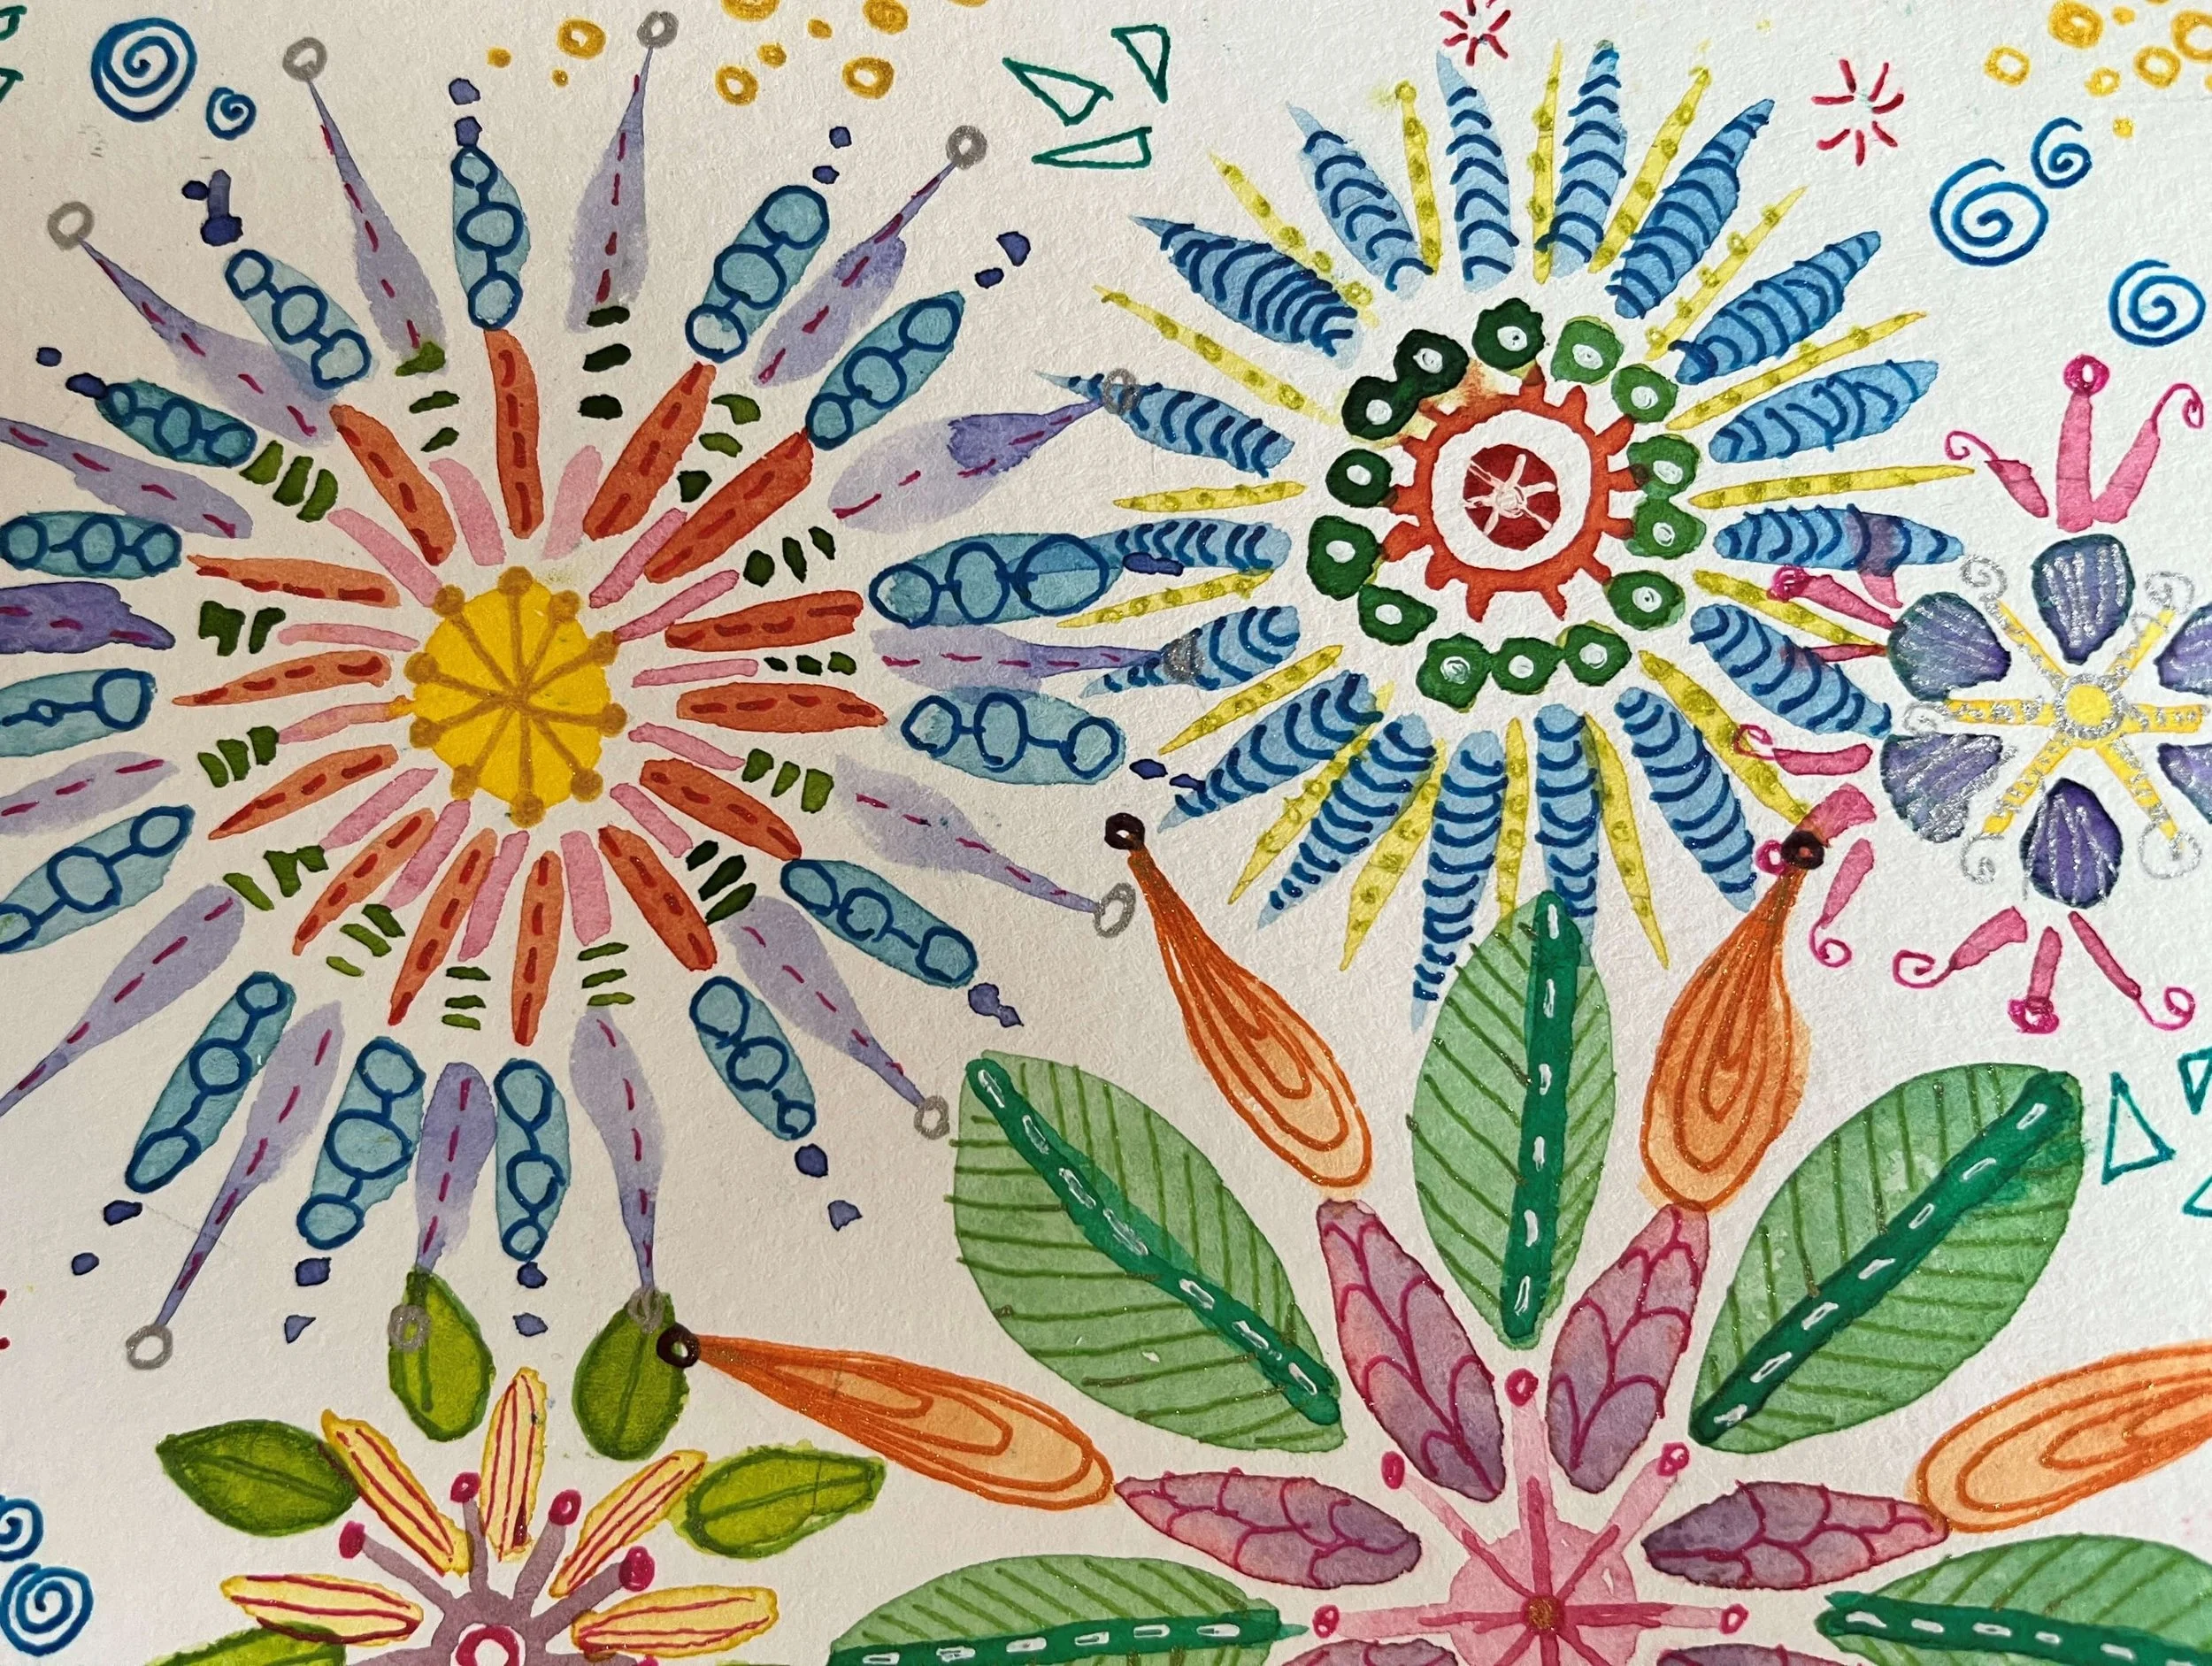
Composition and Design: Learn the principles of composition and design to create well-balanced and visually pleasing paintings. We'll explore different subjects, from patterns to flowers and even free-form mandala designs to help you bring ideas to life on paper.
-
-
Welcome to Whimsical Watercolors I
I'm so glad you're here and hope you're ready to have some creative fun in this jam-packed project based class!
I'm so glad you're here and hope you're ready to have some creative fun in this jam-packed project based class!
-
List of supplies for the class, including links to some of my favorites.
-
-
-
Introduction - Painting Patterns
In this chapter, I’ll introduce you to some easy-to-learn watercolor techniques that will have you painting beautiful designs in no time.
In this chapter, I’ll introduce you to some easy-to-learn watercolor techniques that will have you painting beautiful designs in no time.
-
Practicing different brush strokes and colors to create something unique.
-
Painting Patterns - Project Photos
Let’s take a look at how our simple little patterns came together to make an interesting and colorful piece of art.
Let’s take a look at how our simple little patterns came together to make an interesting and colorful piece of art.
-
-
-
Introduction - Circles
In this lesson, we'll learn about color palettes and practice by coloring different sized circles.
In this lesson, we'll learn about color palettes and practice by coloring different sized circles.
-
Start by picking our color palette using a color wheel.
-
Let's Paint Some Circles!
Ok let’s paint! In this lesson we’ll create some colorful circles using the colors in our selected color palette.
Ok let’s paint! In this lesson we’ll create some colorful circles using the colors in our selected color palette.
-
Doodling Up Our Circles
With our color circles painted, we’ll add some detail and pizazz to really make our art piece pop!
With our color circles painted, we’ll add some detail and pizazz to really make our art piece pop!
-
All done, let’s take a close look at what we were able to create.
-
Circles - Project Photos
Some more photos and examples of my creation. Share yours with your friends!
Some more photos and examples of my creation. Share yours with your friends!
-
-
-
Introduction - Loose Blooms
In this lesson, we'll work together on creating a beautiful page of loose blooms in our watercolor journal.
In this lesson, we'll work together on creating a beautiful page of loose blooms in our watercolor journal.
-
Getting Started with Our Centers
We’ll prepare our watercolor paper and start painting by creating our colorful bloom centers.
We’ll prepare our watercolor paper and start painting by creating our colorful bloom centers.
-
Adding Petals and Color
Now let’s add some beautiful petals to our blooms and really start to fill in our color details.
Now let’s add some beautiful petals to our blooms and really start to fill in our color details.
-
Show & Tell
Here are some of the designs I came up with. I hope yours came out even more interesting and colorful.
Here are some of the designs I came up with. I hope yours came out even more interesting and colorful.
-
-
-
Introduction - Puddled Poppies
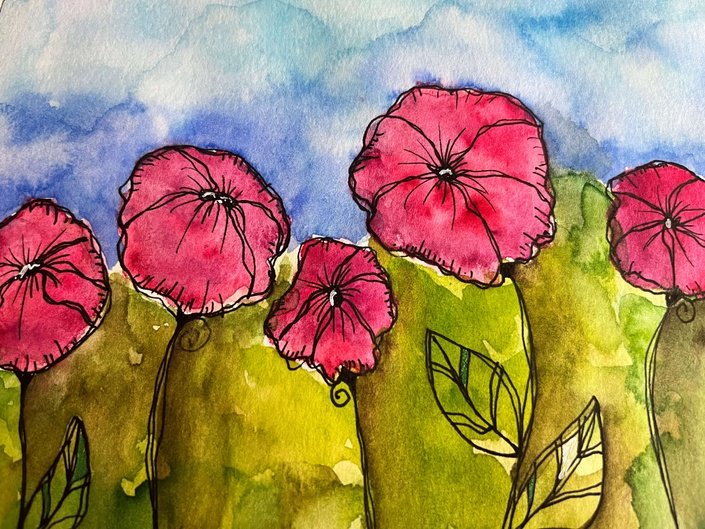
In this project we’ll be creating a pretty little watercolor scene featuring one of my favorite flowers - poppies.
In this project we’ll be creating a pretty little watercolor scene featuring one of my favorite flowers - poppies.
-
Painting Our Flowers
We’re going to start our Puddled Poppies painting by creating our flowers first.
We’re going to start our Puddled Poppies painting by creating our flowers first.
-
Painting Our Foreground (Field)
Next we’ll add some watercolor textures to our foreground to make our poppies stand out.
Next we’ll add some watercolor textures to our foreground to make our poppies stand out.
-
Painting Skies of Blue
In this lesson we’ll be adding a watercolor- textured blue sky to our Poppies.
In this lesson we’ll be adding a watercolor- textured blue sky to our Poppies.
-
Adding Doodles and Lines
Time to make our Poppies really POP by adding some definition through doodles and lines.
Time to make our Poppies really POP by adding some definition through doodles and lines.
-
Finishing Up
Time to add some finishing touches like shadowing and highlighting to our pretty little poppies.
Time to add some finishing touches like shadowing and highlighting to our pretty little poppies.
-
A few pictures of my completed Puddle Poppies painting.
-
-
-
-
Prepare to create some beautiful watercolor landscapes.
-
Putting Down Our Lines
Let’s get started by sketching out our hills in pencil, and layering in our sky.
Let’s get started by sketching out our hills in pencil, and layering in our sky.
-
Filling Our Pockets with Color!
Get ready for some flash because we’ll be spending this lesson filling our rolling hills with eye-popping color.
Get ready for some flash because we’ll be spending this lesson filling our rolling hills with eye-popping color.
-
Adding Lines and Patterns to Our Pockets
Now it’s time to add some detail by including lines and pattens in our landscapes.
Now it’s time to add some detail by including lines and pattens in our landscapes.
-
Finishing Up Our Luscious Landscapes
Adding a couple extra details to make our colorful landscapes perfect.
Adding a couple extra details to make our colorful landscapes perfect.
-
Let’s take a look at the colorful landscapes we’ve created!
-
-
-
Introduction - Gone to the Birds!
In this project we’ll be creating cute, colorful little watercolor birds.
In this project we’ll be creating cute, colorful little watercolor birds.
-
Bird Blobs
Let's get some blobs of watery paint down on our journal pages and create quirky and whimsical birds!
Let's get some blobs of watery paint down on our journal pages and create quirky and whimsical birds!
-
Painting the Background
Now that we have our basic bird shapes down, we’ll be adding some background color to fill out the scene.
Now that we have our basic bird shapes down, we’ll be adding some background color to fill out the scene.
-
Adding Penwork and Details
Finally we’ll be adding detail to our blobs and background to make our little birdies stand out.
Finally we’ll be adding detail to our blobs and background to make our little birdies stand out.
-
Final project photos!
-
-
-
Introduction - Continuous Line Leaves
We’ll be creating some amazing detailed and interesting designs using single line sketches inspired by leaves.
We’ll be creating some amazing detailed and interesting designs using single line sketches inspired by leaves.
-
We’ll start off by sketching our leaf and border using a single continuous line.
-
It's time to add some color and texture to our negative space.
-
Scraping Our Salts
In this lesson we’ll scrape off our salts to see the incredible pattern and textures they’ve made on our painting.
In this lesson we’ll scrape off our salts to see the incredible pattern and textures they’ve made on our painting.
-
Finish up by adding some shading to give our leaf some depth.
-
-
-
Splashing Down Our Mooshy Paints
First we’ll put down a colorful watercolor background for our mandalas.
First we’ll put down a colorful watercolor background for our mandalas.
-
Next we’ll sketch out our mandala designs in pencil.
-
Get Out Your Black Pen!
Time to trace our pencil designs with black pen to bring our mandala designs to life.
Time to trace our pencil designs with black pen to bring our mandala designs to life.
-
Finally we’ll add some final details to our mandalas.
-
Your Instructor
Mixed media is my "genre." I love being able to create a piece using a variety of materials and items. Watercolor, acrylic, paper, marker, pencils, and all the other fun supplies in my art room allow me tons of inspiration and project ideas that keep me busy and happy!
I lead a blissfully happy life that I'm very grateful for. Every. Single. Day. I'm married to my best friend and soul mate that I still have a huge crush on after being together for so long. I'm surrounded by adorable little kids who make me laugh every day with their craziness and spontaneity. I've also been lucky enough to be a mama to 2 pugs and 1 English bulldog that all have special needs but give our family such unconditional love, that it just fills my heart every day.
Everyone is an artist. Jump on in and just give it a try!


